Using Stripe with Nuxt 3
In today's digital age, a seamless and secure online payment system is essential for businesses. Stripe, a renowned payment processing platform, offers flexibility and ease of integration for developers. In this guide, we will walk you through the process of integrating Stripe with Nuxt 3, the latest version of the popular Vue.js framework. This will help you build a robust and user-friendly payment system.
Step 1: Install the Stripe Package
To enable Stripe functionality in your Nuxt 3 project, you need to install the Stripe library. Depending on your project configuration, choose either of the following commands:
For Server Side Rendering (SSR):
npm install stripe
or
yarn add stripe
2 - Install the Stripe.js ES module
Next, install the Stripe.js ES module using the following command:
npm install @stripe/stripe-js
or
yarn add @stripe/stripe-js
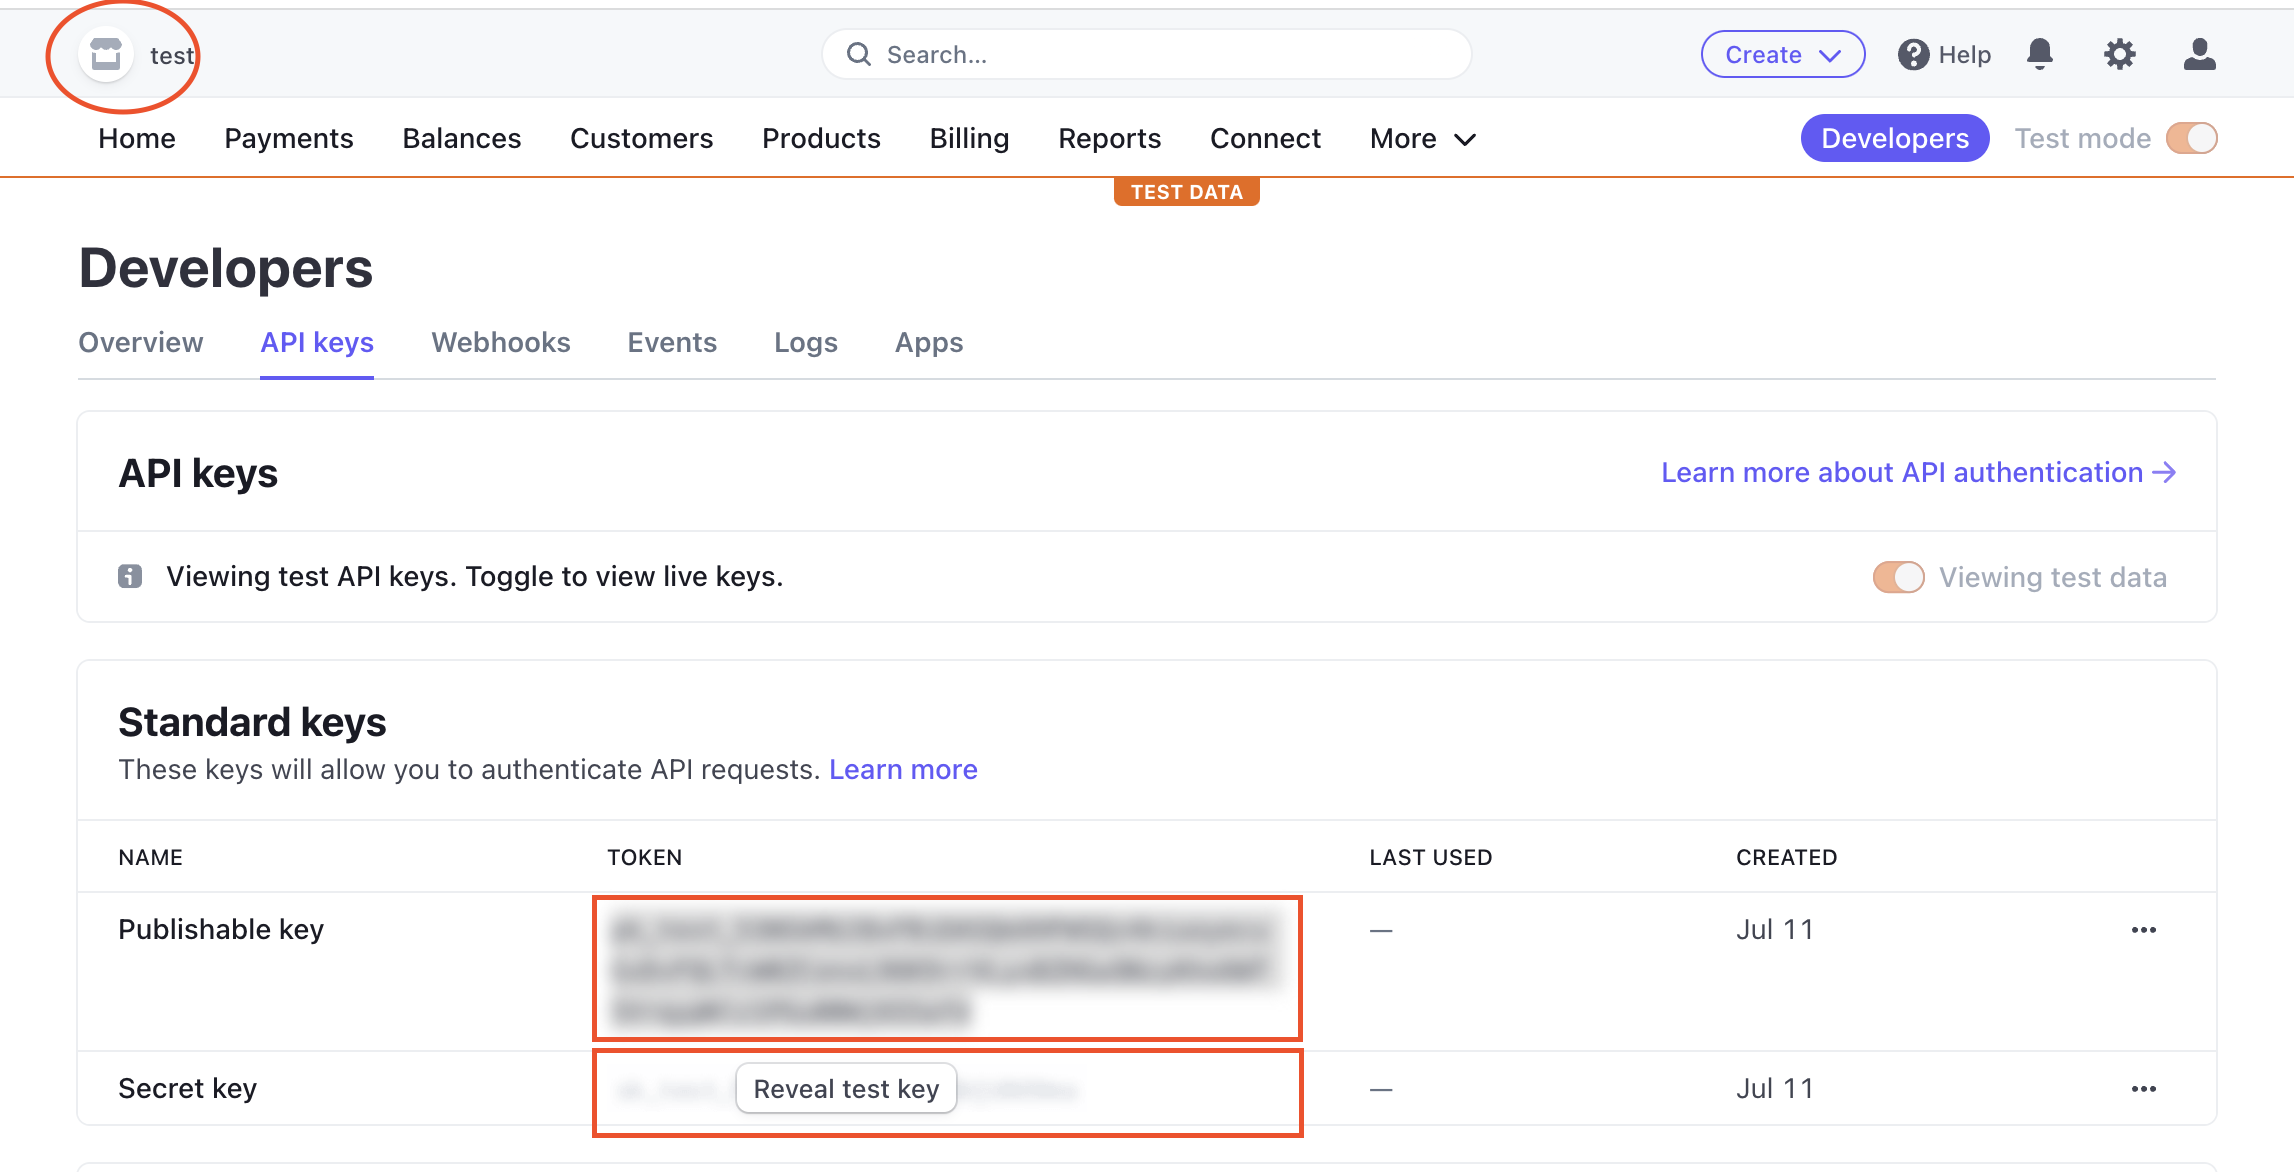
3 - Create a Stripe Account and Obtain API Keys

4 - Set Up Environment Variables
STRIPE_SECRET_KEY=your_stripe_secret_key
STRIPE_PUBLIC_KEY=your_stripe_public_key
5 - Create a Stripe functionality
import { loadStripe } from "@stripe/stripe-js";

export default defineEventHandler(async (event) => {
const body = await readBody(event);
const stripe = await loadStripe(process.env.STRIPE_SK_KEY);
const elements = stripe.value.elements();
return await stripe.value.paymentIntents.create({
amount: Number(body.amount),
currency: "usd",
automatic_payment_methods: { enabled: true },
});
});
6 - Add script to nuxt.config.ts and setting runtimeconfig options
In your nuxt.config.ts file, add the Stripe script and configure runtime options as shown below:
runtimeConfig: {
public: {
stripePk: process.env.STRIPE_PK_KEY,
},
},

app: {
head: {
script: [{ src: "https://js.stripe.com/v3/", defer: true }],
},

},
7 - Implement Payment Forms
            ....
            <form @submit.prevent="pay()">
              <div
                class="border border-gray-500 p-2 rounded-sm"
                id="card-element"
              />

              <p
                id="card-error"
                role="alert"
                class="text-red-700 text-center font-semibold"
              />

              <button
                :disabled="isProcessing"
                type="submit"
                class="mt-4 bg-gradient-to-r from-[#FE630C] to-[#FF3200] w-full text-white text-[21px] font-semibold p-1.5 rounded-full"
                :class="isProcessing ? 'opacity-70' : 'opacity-100'"
                id="processing"
                aria-label="loading"
              >
                <Icon v-if="isProcessing" name="eos-icons:loading" />
                <div v-else>Place order</div>
              </button>
            </form>
            ...

<script setup>
import { loadStripe } from "@stripe/stripe-js";

watch(
  () => total.value,
  () => {
    if (total.value > 0) {
      stripeInit();
    }
  }
);

const stripeInit = async () => {
  const runtimeConfig = useRuntimeConfig();

  stripe = await loadStripe(String(runtimeConfig.public.stripePk));

  let res = await useFetch("/api/stripe/paymentintent", {
    method: "POST",
    body: {
      amount: total.value,
    },
  });
  clientSecret = res.client_secret;

  elements = stripe?.elements();

  var style = {
    base: {
      fontSize: "18px",
    },
    invalid: {
      fontFamily: "Arial, sans-serif",
      color: "#EE4B2B",
      iconColor: "#EE4B2B",
    },
  };
  card = elements.create("card", {
    hidePostalCode: true,
    style: style,
  });

  // Stripe injects an iframe into the DOM
  card.mount("#card-element");
  card.on("change", function (event) {
    // Disable the Pay button if there are no card details in the Element
    document.querySelector("button").disabled = event.empty;
    document.querySelector("#card-error").textContent = event.error
      ? event.error.message
      : "";
  });

  isProcessing.value = false;
};
</script>
Please customize the pay(), createOrder(), and showError() functions according to your project requirements.
Final Thoughts
If you need to see implementation of the code with example project you can visit my aliexpress-clone project here is the link
Feel free to delve into the code and adapt it to your specific needs. Happy coding!
Connect With Me
Have questions about this article or want to discuss web development? Let's connect and share knowledge!
